
With everyone wielding a camera these days, we should technically be drowning in masterpieces, yet only a few videos are applause-worthy. That’s because creating an unforgettable video isn’t as simple as point-and-shoot.
The true skill is in the details behind the lens, not in front of it. Every memorable video follows a distinct formula — a series of stages and techniques that make it come alive.
This guide is your go-to for knowing the art and science of video production. From choosing the right format to perfecting those subtle details that make viewers hit replay, we’ll cover it all. Whether you’re after scroll-stopping videos for a social post or a documentary that leaves a mark, you’ll find every phase, type, and pro tip here to shape your vision.
So, grab your creative instincts because you’re about to see what it takes to go from the idea to the final cut that will redefine how you create.
Video production is essentially the process of creating a video. It starts with planning each shot, perfecting every frame, choosing the right equipment, and adding those little details that make a lasting impact.
This takes knowing exactly what to show and how to show it in the most compelling way possible. The right strategy often combines storytelling and technical expertise to create something people can connect with and remember.
If you're still questioning the value of video in marketing, you might want to catch up. A staggering 91% of businesses use video as a marketing tool, and for good reason. According to the American Psychological Association (APA), our attention spans are shrinking. People would, as such, rather watch a video than read a thousand words.
It's simple. Videos create an instant connection and give you the chance to tell a story and make your brand feel more human — all in a matter of seconds.

Around 90% of marketers agree that video is helpful for brand awareness. It is your best shot at making sure people know — and remember — exactly who you are.
Whether it’s a bold brand intro or a heartfelt customer story, a well-made video gives your brand a story that draws people in and creates a genuine connection.
Videos capture attention, build trust, and convert like no other medium, which means every dollar you spend on video has the potential to work harder and deliver more.
A recent survey highlights that 82% of consumers were convinced to purchase a product or service after watching a video, and 89% expect to see more videos from brands. It’s proof that good visuals drive results. And the best part is that a video’s impact isn’t a one-and-done deal.
With a well-made video, you’ve got a marketing asset that can work across platforms to attract new audiences and keep delivering value long after it’s published.
Search engines love video content because people love it, and when people stay on your page longer, Google takes notice. Adding a video to your site can increase dwell time, decrease bounce rates, and signal to search engines that your content is worth sticking around for.
Forbes highlights that “videos have a 41% higher Click-Through Rate (CTR) than plain text results.” In fact, a well-optimized video can boost your chances of landing on that coveted first page of search results, helping your brand get discovered.
Did you know that a third of all the time people spend online goes into watching videos? Unlike static content, video can show personality and get people leaning in rather than scrolling past.
It’s a two-way street — customers get a peek into what makes your brand tick, and in return, they’re more likely to stick around and even advocate for you. And with so many platforms, from Instagram to LinkedIn, now prioritizing video content, it’s clear that video is the way to turn your viewers into engaged fans.
A series of intentional steps shape raw ideas into a polished video. To ensure the end result will be watched (and remembered), one must know where to start, what comes next, and how each phase supports the next.
Here’s how it all comes together.
Pre-production is where your video’s purpose meets a practical plan. It lets you clarify your message and organize every detail so every scene, shot, and line lands exactly as intended.
In the following sections, we’ll break down each part of this prep phase, from getting your creative ducks in a row to making sure production day is smooth sailing.
Before the camera rolls, the first job is to know why you’re making the video. The clearer your purpose, the sharper your content will be.
Are you looking to introduce your brand or educate your audience? Defining this will set the foundation for everything that follows.
Once your purpose is set, tie it to your audience’s journey. Ask yourself: where does this video fit into their decision-making process?
If you’re aiming for brand awareness, keep things light and visually memorable. For deeper consideration, show your audience why they should care with insights and specifics. Likewise, if you’re pushing for conversions, you’ve got to make sure every element nudges them toward action with clarity.
Here are some essential steps to consider during this phase.
Before moving forward, get specific about who will be watching. Your audience might naturally align with your video’s purpose, but it’s worth digging deeper.
Let’s say you’re creating a product explainer for social media. The tone will likely be informal and engaging because you’re essentially targeting viewers who are already familiar with your brand. On the other hand, if you’re developing a B2B explainer for a trade show, you’ll want to zero in on industry professionals and highlight technical benefits and ROI.
This clarity ensures every decision, from script tone to visuals, aligns with who you’re speaking to.
Refer to this video for more insight:
With your audience in mind, begin brainstorming.
At this stage, don’t hold back; put every idea on the table, even the ones that seem out there. The key is making sure each idea feels purposeful and fits the audience you’re aiming for. Also, take periodic checks: does this concept resonate with your target group? Will it achieve your video’s goal?
An effective technique here is to think of your audience’s key pain points and interests and let these guide the brainstorming. For instance, if you’re creating an awareness video, focus on a storytelling style that draws viewers in rather than going heavy on product specs.
Understanding your team’s strengths (and gaps) early on is critical.
Do you have access to in-house talent for all stages, or will you need to look outward for specialized skills?
If you’ve got an in-house videographer but no editor, a freelance editor could be a great fit. Or, if your concept requires a polished, end-to-end approach, bringing in a production company can add both structure and expertise.
Production companies handle everything from storyboarding to final edits, which can be invaluable if you need a hands-off role.
Establishing a detailed timeline and video production budget keeps your project organized and realistic.
On average, aim for a production window of 10-12 weeks, though this varies based on complexity. Animation-heavy projects might, for instance, be faster, while in-depth live shoots could take longer.
Further, cost planning is equally vital. Start by outlining your primary needs, then calculate specific costs. For example, smaller in-house projects could run between $600-$6,000, but for a more polished, high-production video, costs can rise to $30,000 or more.
Setting these parameters from the outset keeps unpleasant surprises to a minimum.
Writing a well-organized script saves you from the chaos of “Wait, what’s happening here?” on production day and makes post-production a breeze.
Each scene deserves its own mini-world. If, for example, you’re shooting in a dimly lit cafe, mention that. Specify the warm lighting, the hum of quiet chatter, and the barista in the background.
This setup paints a visual for the entire crew and keeps everyone in sync. Good descriptions don’t just tell; they transport your team into the scene.
To keep things tidy and clear, break down every scene into these core elements:
Timing can make or break a script. As a rule of thumb, stick to around two words per second for voice-over or dialogue. This is essential for hitting that sweet spot where you’re informative without overwhelming viewers.
If you’re writing a 15-second bit, aim for around 30 words. Trust us, your viewers will appreciate the breathing room.
A well-polished script is rarely born on the first draft, so carving out time for revisions is essential. But the trick is to keep it efficient. Too many cooks in the kitchen might end up making a bland stew.
We mean, select just a few key players for feedback, people who get the vision and respect the process. This way, you won’t end up watering down your concept in a quest for consensus.
Further, set clear expectations about time constraints and word count limits when you pass along the script. Remind reviewers that a 30-second video needs to stay sharp. Otherwise, you may get suggestions for Shakespearean-length monologues for a spot that’s meant to be short and punchy.
A storyboard is essentially a comic strip for your video. Each panel represents a scene, showing key visuals, camera angles, movements, and more. It gives a sneak peek at exactly how each moment should look and flow.
A great storyboard leaves little to guesswork. It captures the style and pacing you’re aiming for, so everyone’s on the same page (literally). From camera angles to lighting cues, it ensures the crew executes your vision with precision.
Tools like Storyboard That and Canva offer numerous storyboard templates to make the creation process a whole lot easier.
Here’s an example storyboard — made on Canva — to give you an idea:

The storyboard phase is your chance to plan each shot that will tell your story. Here’s how to think it through.
Consider how each angle can impact your message. Close-ups generally add more intensity and detail, which is perfect for capturing emotions. Wide shots, on the other hand, set the scene or establish the scale.
So, think about how close, wide, or mid-range shots could better each part of your story.
Different camera moves — like pans, tilts, or zooms — can improve your visuals.
Want to highlight a product in motion? A smooth pan or tracking shot might do the trick.
Consider using different moves to create flow or shift focus, such as a left-to-right pan to capture a journey or a zoom-in to highlight detail. Also, make sure you decide when and where movement is essential to your scene.
B-roll footage can add context and visual variety.
Make sure you plan specific cutaway shots, like showing a customer using your product or a scenic background, to support the primary narrative. It makes transitions smoother and reinforces the story without relying solely on the main action.
Even if you’re not a production expert, jot down what you envision for each scene. Describe the shot type, angle, movement, and any effects you’re imagining.
For example, “Close-up of product with shallow depth of field to blur the background, then tilt down to capture product detail.”
The more you outline, the easier it will be for the production team to bring your vision to life.
If you’re working with seasoned videographers or directors, ask them for advice. They may suggest certain angles or camera settings that enhance your project in ways you hadn’t considered.
You can always use their input to refine your storyboard and make it production-ready.
Check out this complete guide on 17 best camera shots for video production.
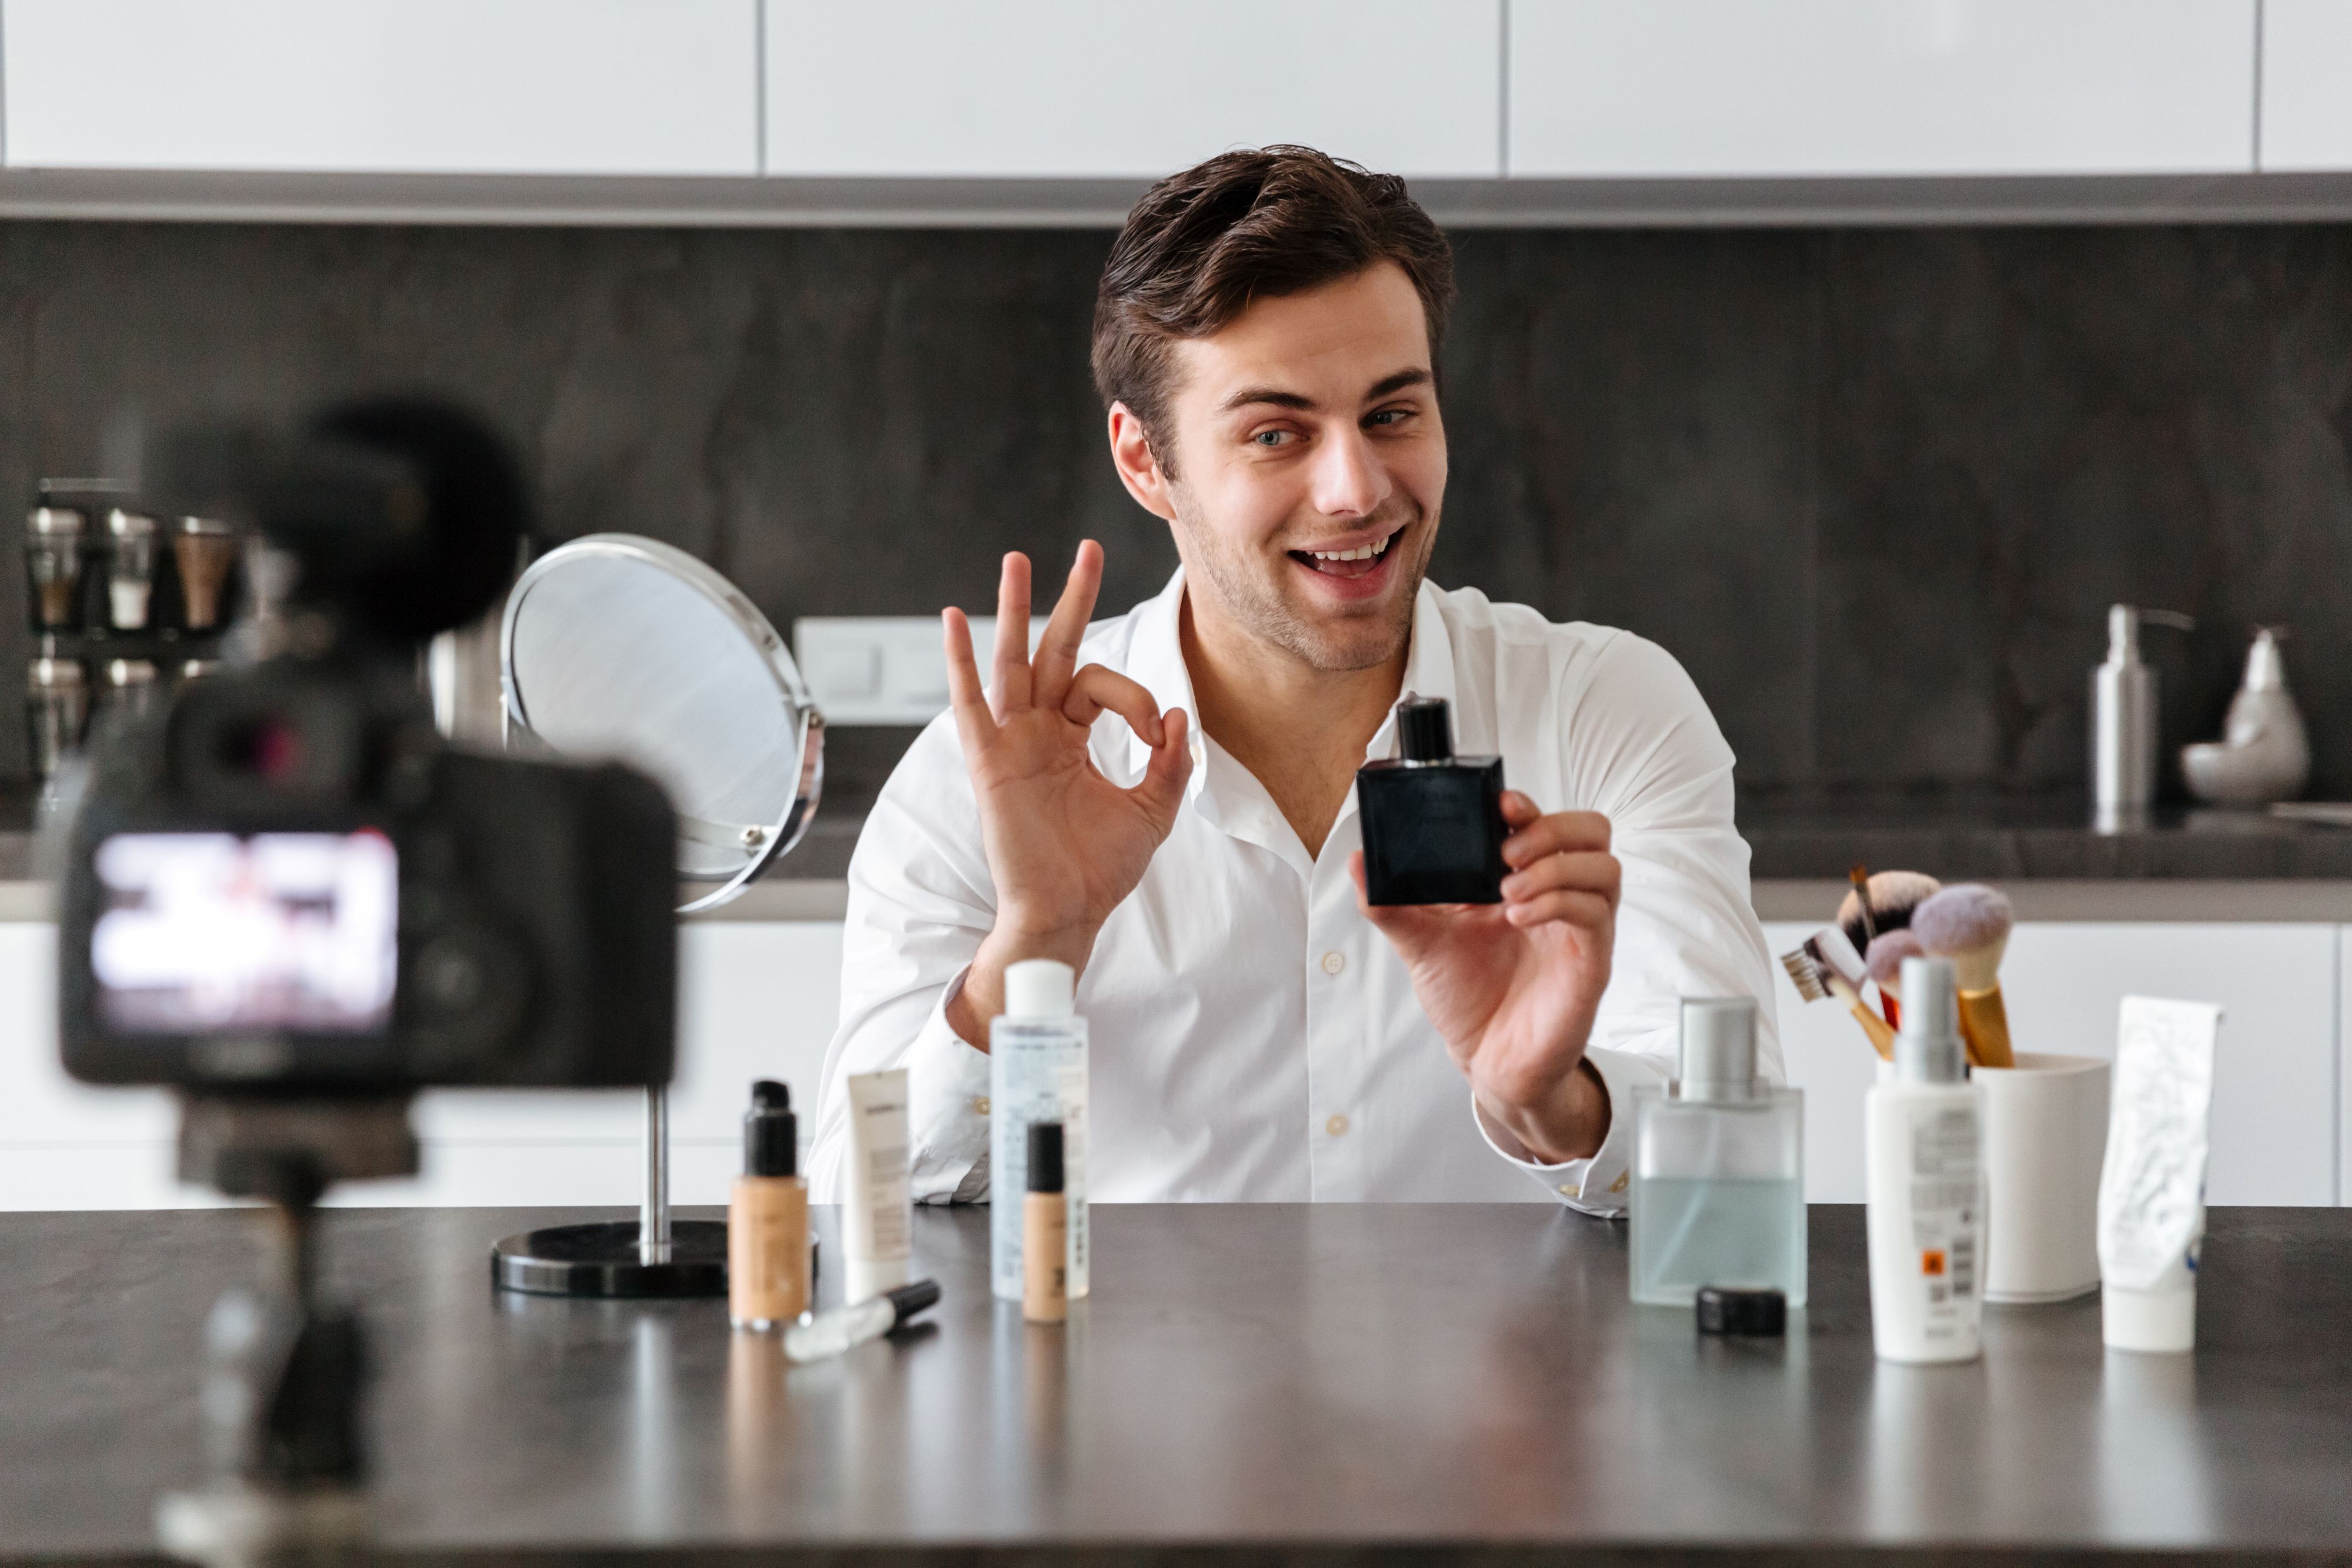
Casting might seem overwhelming, but it doesn’t have to be. Platforms like Backstage and Actors Access make it simple.
Just post what you’re looking for. This might include character traits, personality, or specific skills, and watch as actors submit their self-taped auditions. Suddenly, your inbox will be full of possibilities.
If you’re not a fan of scrolling through endless audition videos, hiring a casting director with an eye for talent could be an excellent shortcut. They’ll sift through options and even offer feedback to make sure you find your ideal fit. And if you’ve got a production company on board, they’ll likely take the whole casting process off your plate!
Auditions can be flashy, but we don’t recommend getting blinded by charisma. Ideally, look for talent that aligns with the audience you’re targeting.
If your audience is young and trendy, look for someone who brings that vibe; if, however, you’re aiming for a corporate look, seek a professional demeanor. Further, watch for actors who follow directions.
Did they pay attention to the script notes? Did they keep the tone you asked for, or did they go rogue? This speaks volumes about how they’ll behave on set.
Be wary of over-acting, too. We mean, the best performances often come from subtlety. And remember — surprises are good! Sometimes, an unexpected take can give your character a fresh life. Don’t be afraid to take a chance on someone who shows potential in a unique way.
Experienced actors know the ropes, but they’ll always appreciate extra guidance. If you have specific lines to be emphasized or actions to be hit, communicate those early.
The clearer you are about the details, whether it’s a subtle expression or a specific phrasing, the better prepared your actor will be.
The golden rule? Over-communicate, don’t under-communicate.
Give your talent all the preparation they need to perfect their performance. Besides, a few notes ahead of time can make the difference between good and outstanding on-screen moments.
The big day is here. Today’s about aligning every piece, from setting up equipment to syncing the crew and nailing the set design to capture those perfect shots.
Here’s to a production day that changes all your hard work into a story worth sharing!
.gif)
The right equipment is everything. Quality cameras, lighting, and sound are the backbone of a stunning video. If you're not a gearhead, that's okay. This is where your production crew can help you.
Trust them to recommend the right tools for the job. They’ve probably used these gadgets countless times and know exactly what’s needed to nail your concept.
Now, if you're bringing in freelancers or hiring a third-party production team, chances are they’ll bring their own equipment. This is a huge bonus.
Not only do you save time and money on renting gear, but these pros are experts with the equipment they use. They’ll have everything dialed in so you can focus on the bigger picture.
You need to find the right people who fit the role and vibe with your production.
When it comes to a videographer, their demo reel could be a goldmine. Watch it and ask yourself: Does their style match the vision in my head? If their shots make you say “wow,” you’re halfway there.
However, you should not stop at skill; personality matters, too. We mean, a fantastic portfolio won’t matter if they’re challenging to collaborate with. So when hiring, always ask for feedback from previous collaborators. Check their references and ask about their demeanor on set.
A true pro, beyond knowing how to shoot, is easy to work with, adaptable, and a team player, and trust us, that’s priceless.
The kind of video you’re shooting will drive your location choice.
Are you showcasing a product? A studio is likely your best bet.
A behind-the-scenes documentary about your business? Your office or workplace might be the perfect backdrop.
A lifestyle commercial? Well, now you’ve got a world of possibilities — parks, cafes, or even a cozy apartment could work wonders.
If you’ve got a very specific location in mind, and let’s be real, you might, it’s worth teaming up with a location scout. They know all the hidden gems and have the know-how to get permits and all the necessary paperwork sorted.
Plus, when you’re working with a professional, it’s less likely you’ll end up filming on a location that’s suddenly unavailable or completely wrong for the vibe you want.
Once you’ve locked down the location, it’s time to consider the set design. Start by ensuring that the backdrop for each scene enhances the story.
Think about lighting — dramatic overhead lights or soft natural light through a window?
Colors — warm tones to create a cozy feel or sharp contrasts for a more modern, edgy vibe?
Focus — do you want the background to fade into a blur, or should the objects around your actors add extra context?
Then, props. They significantly add to your set design.
A coffee cup on a table may seem insignificant, but it tells a story (maybe your character’s mid-morning break). Or perhaps a stapler in a cluttered office scene subtly reinforces the “hustle” vibe.
Whatever your story, consult your script and storyboard to make sure the necessary props are front and center.
Pro Tip: Don’t go overboard with the set design, though! Every object should have a purpose, even if that purpose is simply to contribute to the overall atmosphere. Too much clutter can distract from the story you’re trying to tell. Keep it focused and purposeful.
Here is a guide with effective tips for location scouting and set design.
After weeks (or maybe months) of preparation, everything comes together in this pivotal moment. But before the cameras start rolling, there’s a ton of behind-the-scenes coordination to make sure the day goes smoothly.
Call sheet is a detailed schedule that includes everything your crew and talent need to know: what’s being filmed, when, where, and who’s needed.
If you’re running the show, you’ll want to get your hands on the call sheet yourself. If you're working with a production company, they’ll whip one up and send it over for your approval. This document is important as it helps keep the train on track and prevent chaos on set.
The more detailed, the better — everyone should know exactly where they need to be and when.
Equipment setup is no joke. If you’re working with a team, leave the heavy lifting to them.
Directors and camera operators know how to handle all the fragile, expensive gear (and let’s be real, you don’t want to risk anything going wrong with it). They’ll set up the equipment in a way that’s going to give you the best results.
That said, if you’re the DIY type, don’t sweat it. While you may not have a full crew behind you, you can still get great results.
The key is knowing how to work with what you’ve got. Use natural light as much as possible, and don’t be afraid to experiment with angles and framing. It’s okay if things aren’t perfect the first time around. We mean, test shots are your friend. Play around, check your results, and adjust until it’s right. You’ve got this.
Things rarely go according to the script, and that’s okay. Sometimes, lighting needs adjusting. Sometimes, a scene might need a little more energy, or a certain shot just isn’t working.
The pros know this; they tweak on the fly and never stop experimenting. So don’t be afraid to try new angles or switch up your shots in the moment.
Also, document anything you change on the fly, whether it’s a lighting tweak or a different shot from the one you planned. Having these notes will help keep the editing process simple.
Check out this post on the best lighting tips for video production.
This is the phase where your raw footage starts to resemble the polished, high-quality video you envisioned. Your editors work behind the curtain to piece together the story and perfect every frame to make sure it feels just right.
Overall, this step is all about refinement and finishing touches to make your video as tight and professional as it can be.
This is where your footage finally starts to look like something worth watching. Here are some steps it generally follows.
The first thing your editor will do is organize all the footage. If you had multiple cameras, this becomes even more important as each camera's files need to be categorized.
Sorting clips by angle, scene, or location ensures that your editor can easily access what they need without wasting time.
This is where your pre-production notes come in handy.
Remember those shots that didn’t quite go as planned or the scenes where you had technical issues? Now is the time to refer back to those notes.
Marking clips that have issues, whether it’s poor audio, bad lighting, or distractions on set, will save valuable time later. Your editor will know which clips are good to use and which ones to avoid to maintain the quality of your video.
The first version of your video that you’ll see is called the rough cut. Don’t expect it to be polished, but do expect to get a feel for the structure.
At this point, the clips are pieced together, and the story is taking shape. It’s your chance to evaluate how the video flows from one scene to the next.
Is there a good rhythm? Does the storyline make sense?
Take this opportunity to suggest changes in sequencing or add anything that might be missing before the editing team moves forward.
Once the basic structure is laid out, it’s time to add the fun stuff — special effects and transitions. This is where your storyboard comes into play again.
If your script called for specific effects, now is the time to incorporate them. But remember, subtlety is key here.
While effects enhance a video, they should never take away from the story or overwhelm the audience. Keep them simple, and make sure they align with the overall tone of your video.
After the effects are in place, you’ll be asked to review the video again. Don’t just look at it with a critical eye; instead, really think about the viewer's experience.
Does it hold their attention from start to finish? Is the pacing right? Do the transitions feel natural?
You’re still in the phase where changes can be made, so be sure to communicate your thoughts clearly. It’s your opportunity to catch anything that feels off.
This is where editors work on balancing all the sound elements so they mesh together perfectly. They consider everything from dialogue to voice-overs, background music, and sound effects.
One of the first steps in sound editing is eliminating those annoying background noises nobody wants to hear. Whether it's the hum of a refrigerator or the distant sound of traffic, these ambient sounds can really throw off the vibe of your video.
Editors typically use noise reduction tools to clean up the audio, leaving viewers with a crisp, clear listening experience.
Sound mixing is where each audio element (dialogue, sound effects, and music) gets its own space in the spotlight. Your editor will adjust the volume levels so that everything is clear.
Music, for instance, should enhance the scene without overshadowing dialogue, and sound effects should be felt but not be too overpowering.
The soundtrack can completely change how a viewer experiences your video. The right track amplifies the emotion you want to evoke (whether it’s excitement, suspense, joy, or nostalgia).
However, finding the perfect tune can be a bit of trial and error. You may have to experiment with a few options to get it just right — no need to rush it!
Sound effects may seem small, but they pack a punch in terms of storytelling.
A door creaking open, footsteps, and the flicker of a light bulb add the realism or the mood you’re aiming for. But just like with music, moderation is key. Too many sound effects can make your video feel chaotic.
The footage from your shoot will typically look pretty dull at first, but that’s intentional. Raw footage has a "flat" look to give editors the freedom to adjust it however they like.
Color grading is where they tweak things like contrast, white balance, saturation, and more to make the footage look just right.
Once your editor has made adjustments to each scene, they’ll ensure that your video has a consistent look from start to finish. We mean, it would be jarring if one scene were super bright and the next suddenly became dark and gloomy. That’s why consistency is the name of the game.
It keeps things cohesive so that viewers can focus on the content, not on random color shifts.
When you’re exporting, think about the end game: where is this video going? For a quick review, exporting in a lower resolution will save time (and storage) while keeping things crisp enough for feedback.
If you’re ready to go live on YouTube or another platform, aim for a high-resolution export (1080p or 4K) for the best quality. Besides, exporting video can put a heavy load on your computer’s processing power.
Therefore, to speed things up, close any apps or browser tabs before hitting export. This way, you’re more likely to get a faster export with fewer chances of lag or crashes.
Further, when it comes to hosting, each option has its unique perks. You’ve got to match them with your needs.
Remember that hosting on YouTube could mean ads, which some viewers may find distracting. Vimeo, on the other hand, is cleaner, but there’s a trade-off in discoverability.
YouTube is the best bet for organic traffic, and Vimeo shines for a polished portfolio or client showcase. If, however, customization is your top priority, self-hosting is worth the investment.
Read our detailed guide on the 3 stages of video production to learn more.
When you’re about to invest in a video production company, it helps to know the main types of marketing videos they can create. Even if you’re uncertain which one is the perfect fit for your brand, a basic understanding can give you clarity on where to spend (and save).
Product demo videos are short, engaging videos that let viewers see your product in action. They demonstrate what your product does and why it’s valuable. You can do so through a live-action walkthrough or a slick animation; the options are endless.
Overall, the purpose behind these videos is to build confidence. Put simply, customers are far more likely to buy something they’ve “seen” in action than something they just heard about. These videos help remove doubts and provide a sense of assurance before purchase.
Done right, a product demo can shorten the buyer’s decision-making time and lead to conversions.
Social media clips are short, punchy videos explicitly tailored for quick consumption. Often no more than 30-60 seconds long, these videos offer a great way to engage viewers quickly. They’re typically optimized for mobile viewing, often in square or vertical formats.
Brands use these clips to tease new products or share quick tips that add value. Plus, their shareable nature means you can extend your reach even further when viewers share your content with their networks.
These videos involve real people sharing why they’re head-over-heels for your brand straight from their own mouths (and hearts). It’s like your friend saying, “You have to try this,” but now it’s on video and ready to build trust on a massive scale.
People want to buy from brands they can trust, and there’s nothing quite like hearing it from someone who’s already been there, done that, and loved it.
Testimonials hit all the right notes for the “I’m almost ready to buy” crowd, helping them feel the reassurance they need.
Live broadcasts allow you to show up, be yourself, and engage directly with your audience, all while everyone’s watching in the moment.
There's no script, no re-takes — just pure, unfiltered action.
You can showcase what your product can do, answer some burning questions from your audience, or perhaps announce exciting company news. The whole “live” aspect adds an element of urgency that recorded videos can’t match. When viewers know they’re watching something in real-time, they feel more invested.
The behind-the-scenes team features lets you show the inner circle of your brand, the people, and the passion driving your business.
It’s a great way to celebrate the hard work that happens behind closed doors. Plus, it allows viewers to see not just the brand but the people who make it happen.
By breaking down the corporate walls and letting viewers see the people who keep things running, your brand comes across as more relatable.
Educational and how-to videos are a fantastic way to offer real value to your audience while positioning your brand as a knowledgeable, trustworthy resource. You get to guide viewers through specific tasks or explain complex concepts.
These videos can vary in depth, from quick tips and tricks to comprehensive tutorials, but the goal remains the same: to make the viewer’s life easier by solving a problem. This type of content is particularly effective on social media and YouTube, where people often search for solutions to specific problems.
As a bonus, well-made educational videos can lead to more conversions, since people feel more confident buying from brands that take the time to teach.
A solid, long-term relationship with a skilled agency offers immense value because it goes beyond just beautiful footage. Here’s how a dedicated production partner can help.

Here is a complete guide to choosing the best video production agency.
When it comes to video production, you’ve got a few options and each comes with its own perks. Let’s break down this video production agency vs. freelance video producer comparison, so you can make a smarter decision based on your goals.
Freelancers can certainly seem like the budget-friendly choice because you get to save a chunk of change upfront. But they often don’t have the top-tier equipment or extensive teams to pull off large-scale, high-quality productions.
Sure, they might be great at shooting a talking head video or an interview, but if you need something more polished — motion graphics, multiple camera angles, advanced editing — you might find yourself in a bind.
Plus, managing a bunch of freelancers for different aspects of the production process can feel like herding cats.
From finding the right talent to coordinating schedules, the extra time (and effort) might cancel out any cost savings, especially when the final product doesn’t quite match your vision.
Now, if you’re feeling brave (and maybe a little strapped for cash), you could go full DIY.
With user-friendly editing software and an affordable camera, it’s possible to create content on your own. But the problem here is that you’re not a professional (unless you are, of course!).
While DIY can work for simple, quick-turnaround videos, creating high-quality content with a professional edge is a whole different ballgame. You’re going to spend a lot of time learning (or relearning) technical skills, which means diverting your focus away from your actual business goals.
Trust us, if you’re spending more time troubleshooting than you are growing your business, the “savings” of doing it yourself can turn into a time and energy drain.
Hiring a pro agency may seem like a hefty investment upfront, but here’s why it’s worth every penny.
Agencies bring the whole package to the table: they have access to top-notch equipment, expert crews, and specialized teams for everything from pre-production planning to post-production polish. They handle all the logistics — casting, location scouting, scripting, editing — so you don’t have to juggle multiple freelancers or handle the endless headaches of production.
Plus, with a long-term partnership, you can rely on them to understand your brand’s unique voice and create consistent, high-quality videos every time.
In the long run, this leads to better ROI because you’re not redoing work, fixing mistakes, or spending time troubleshooting; everything is taken care of, and you get a final, polished product.
If you're ready to level up your video content and leave the competition in the dust, you’re in the right place. At Indirap, we create marketing assets that help you turn video content into cold, hard profit.
No, our skilled team doesn’t just wing it. We’ve got a 5-step process to serve your business goals.

Ready to make videos that turn heads and deliver measurable results? Let’s talk!


.png)
.png)